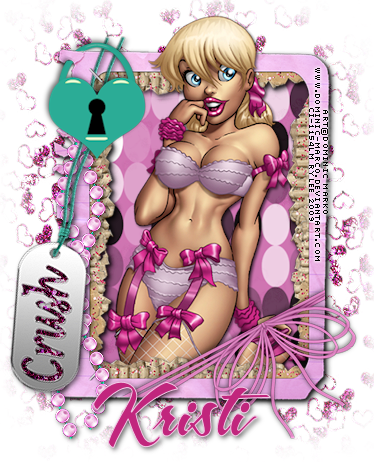
♥This is for my dear Friend, Kristi,
who has given me the confidence to do what I'm doing....thank you so much!!♥
This tutorial was written by RyLee on June 15, 2009. It's concept is copyrighted to
me, RyLee. Any creation you make from my ideas are yours. You may print this out
for your own personal use, but please do not copy it any way to put online, pass out,
or rewrite without my permission.
Please do not attempt to claim as your own.
This tutorial has been registered with TWI.
This was written in PSPX2, but will work in other versions.
For this tutorial you will need the following:
Paint Shop Pro
Animation Shop - optional
Patriotic Scrap Kif of your Choice
I used "Patriotic". It is a free to use kit by I Got Lucky Skraps.
Kristi, thank you so much for sharing your talents, you Rock!!
Pleave leave a comment if you download it.
Mask of choice
I used a mask by Vix - 341
you can get the mask by going to
Vix's PSP
on the navigation bar, click on goodies, then on masks,
scroll down until you see
March 2, 2009
masks 326-345
341 is in that zip, but please use a mask of your choice if you prefer.
Font of Your Choice
I used Matisse ITC which is a font that I paid for, therefore, I cannot share.
Tube of your choice
I used a tube by Joel Adams. You can purchase a license to use Joel's art
by visiting CILM.
Alien Skin - Xenofex 2 - Constellation
Ready to start??
REMEMBER TO SAVE OFTEN
Step 1:
Open up a new image 700 x 700, 72 dpi
flood fill with white
Open a paper of choice. I used I Got Lucky Skraps-Patriotic paper 3
Copy and paste as a new image.
Go to Layers - Load/Save mask/Load mask from disk
look for Vix 110 or one that you choose to use.
apply the mask, delete mask layer, merge group.
Step 2:
Open up the elements and look for "iglskraps_patriotic_frame6, copy and paste as a
new layer. I didn't resize, but you may want too. Open up brad2, copy/paste
"under" the frame, on top of the mask layer. This you will need to resize so the blue
frame is on the metal rim, I resized by 70%.
Position it into place. If your happy with the way it looks, in your layer palette, make
sure you are on the frame layer, then merge down.
Add a drop shadow of choice. I used v&h-2, opacity-50, blur-6.
Step 3:
Open up the element "iloveamerica", copy/paste as a new layer.
You will need to resize this so if fits into the frame.
I resized mine by 50%, but this is up to you.
Next step is Optional:
I add silver glitter around the word art.
Make sure that the word art layer is highlighted,
Selections/Select All/float/defloat/modify/expand by 6
Add a new layer "under" the word art, flood fill with glitter of choice.
Selections/Select None
Adjust/Sharpness/Sharpen
Step 4:
Open up your tube of choice,
Copy/paste as a new layer, resize to your liking.
Add a drop shadow of choice...I used v&h-2, opacity-50, blur-6.
I moved my frame over a bit so the tube wasn't blocking the "I love America"
(optional)
Step 5:
Add any elements that you want, be creative, it's your tag!!!
Don't forget to add a drop shadow.
If you don't want to Animate, now you can resize your tag to your liking,
add your artists copyrights, add your name or name or saying.
Save as a jpeg or png.
**Please when resizing, make sure the dpi is at 72**
**Just a Note: Before I added my sparkles, I resized my tag, sometimes I find that
resizing after you added noise or sparkles, makes my animation jumpy....this is my
preference, you do what you are use to doing.
If you want to Animate with sparkles.....follow me
(Optional if you don't have a tube that is holding sparklers.)
Use your magic wand with the following settings:
add(shift); rgb value; tolerance-11; feather-1, anti-alias checked
you may want to zoom in on the image, then with the magic wand, click in the middle
of each little tear drop shape (the white part) you can make these as big as you
want, it's your creation. Make sure you get each and every one.
Once your done using the magic wand, duplicate the tube twice for a total of 3 layers.
Highlight the top one, go to
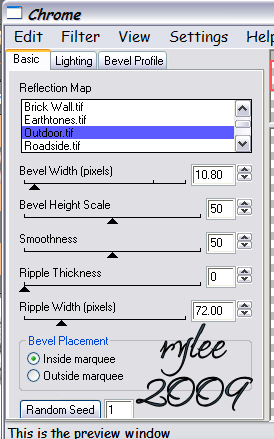
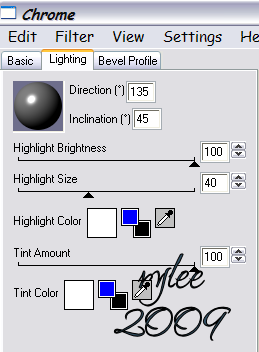
Effects/Alien Skin/Xeno-Fex/Constellation with the following settings:
go to the Settings tab, open it, and choose
Lots of Stars, then apply the following settings,
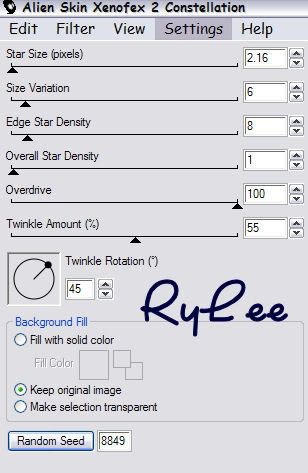
Close off layer 1, highlight layer 2, go to
Effects/Constellation, hit random seed, hit okay.
Close of layer 2, highlight the last layer, repeat as above.
Selections/Selection None.
Add a drop shadow of choice to all 3 layers of the tube.
Again, if you didn't do this before, make sure you add your artists copyright info,
add your name, a name or a saying.
Close off tube layers 2 and 3
click on the top of your tag, copy/copy merge
Paste as a new Animation in Animation Shop.
Repeat this process for layer 2,
paste "after current animation" in Animation Shop.
repeat for layer 3.
Once all 3 frames are in Animation Shop, review your animation.
If it looks good, save as a gif.
Thank you so much for trying my tutorial. I hope this was easy to follow and understand.
The results are yours and you should be proud. This tutorial is just a guideline or teaching
tool for some.
If you should have any questions, please give me a shout in my shout box.
Happy
Creating
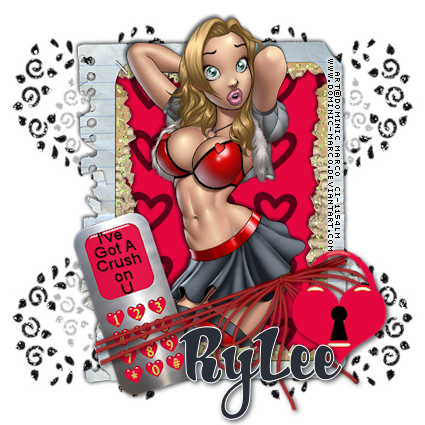
Here is another result.
Use your imagination and you will love your results.
